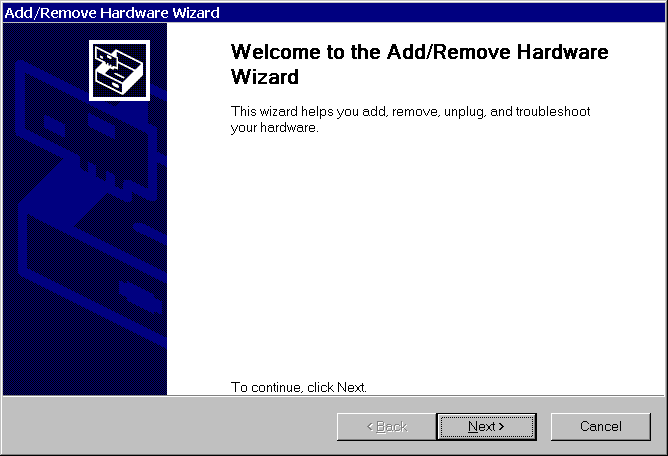
Completing the Add/Remove Hardware Wizard
Start the Add/Remove Hardware Wizard using Add/Remove Hardware
item in the Control Panel.
1. Click Next until to start installing the device.
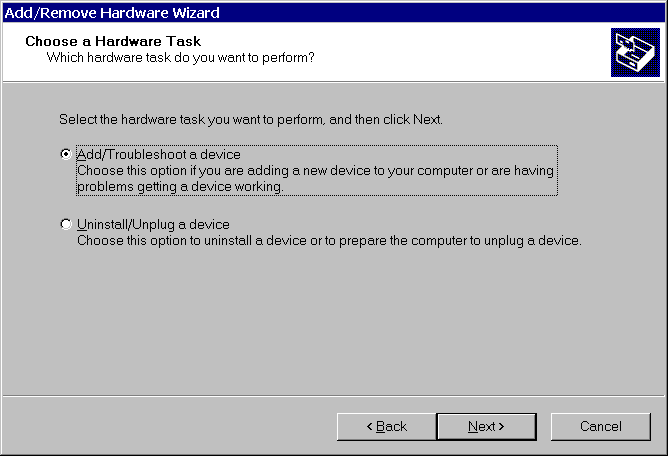
2. Select Add/Troubleshoot a device and click Next.
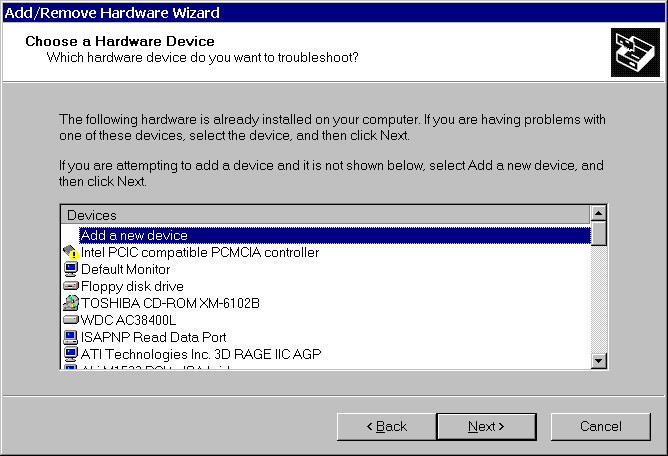
3. Select Add a new device and click Next.
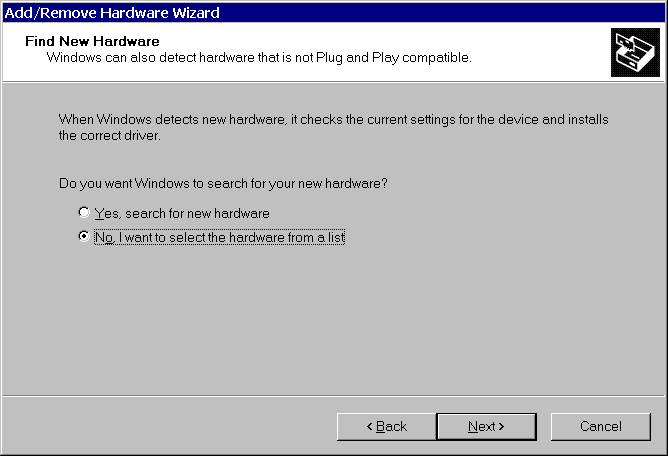
4. Select No, I want to select the hardware from a list and click Next.
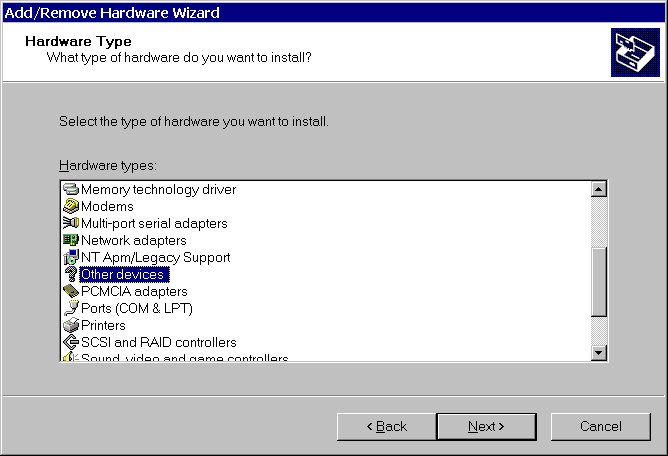
5. Select Other devices and click Next.
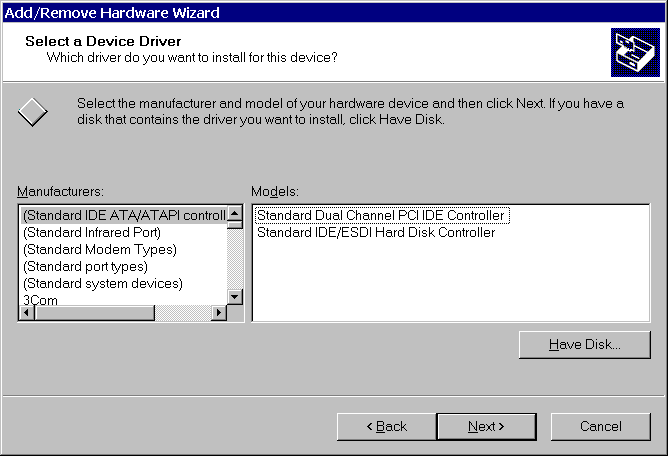
6. Click Have Disk....
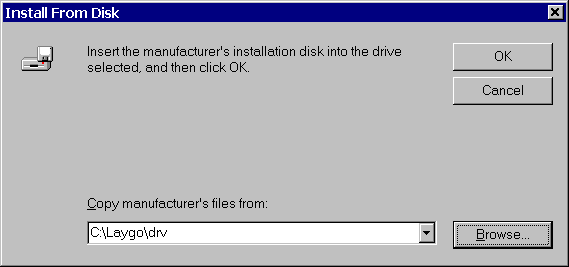
7. Enter the path to the LayGO drv directory and click OK.
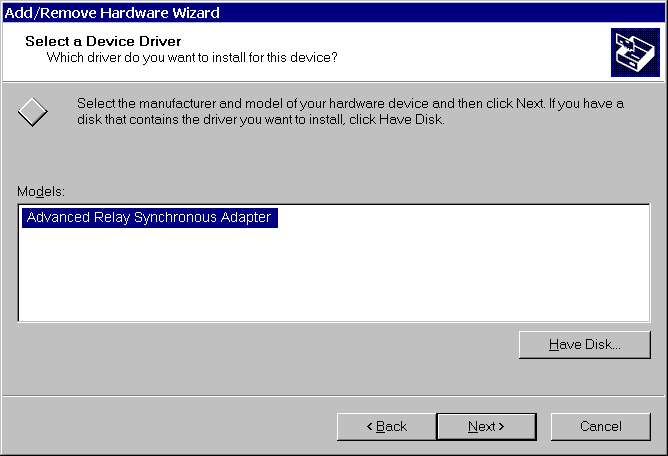
8. Select the device you want to install and click Next.
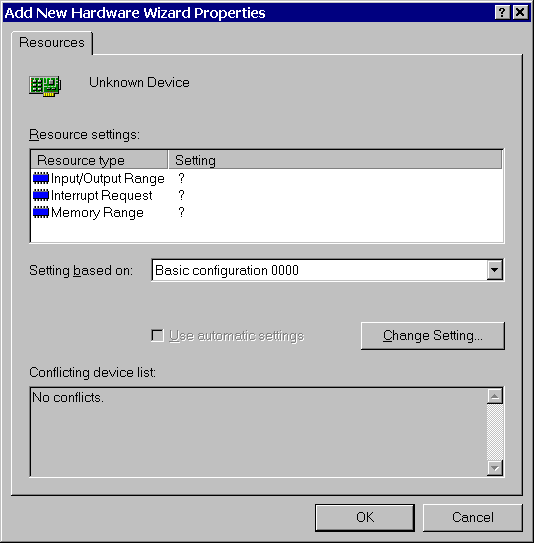
9. Click OK to select hardware settings for the driver.
10. Double-click each resource and select a setting with no conflicts.
11. Click OK to continue the installation.
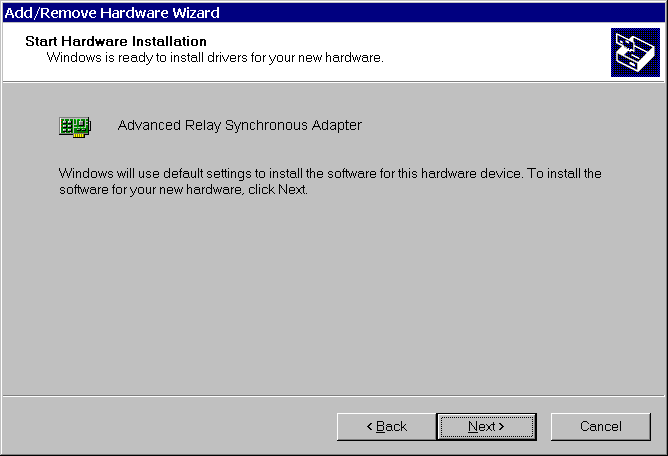
12. Click Next to contunue the installation.
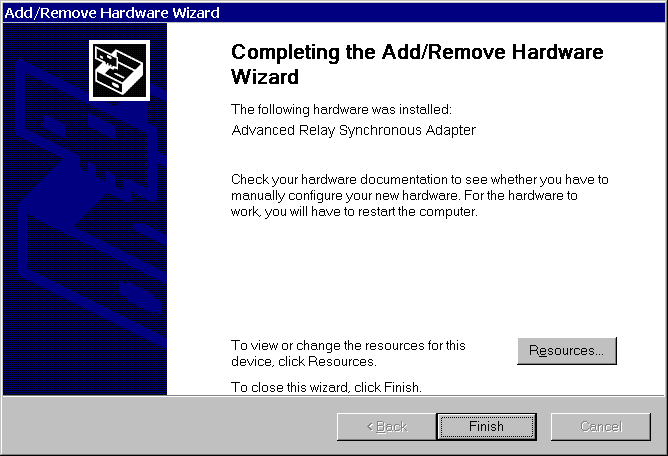
13. Click Finish on the last page to complete the installation.
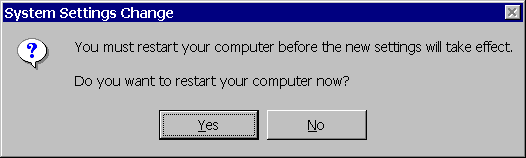
14. Click Yes to reboot the system.
After the system reboots, the device should appear in the Synchronous communications adapters
section of the Device Manager.